

BLOGS
Emergency Pipeline Leak Repair: A Practical Field Guide
2026-10-14 06:55:58
Emergency Pipeline Leak Repair: A Practical Field Guide
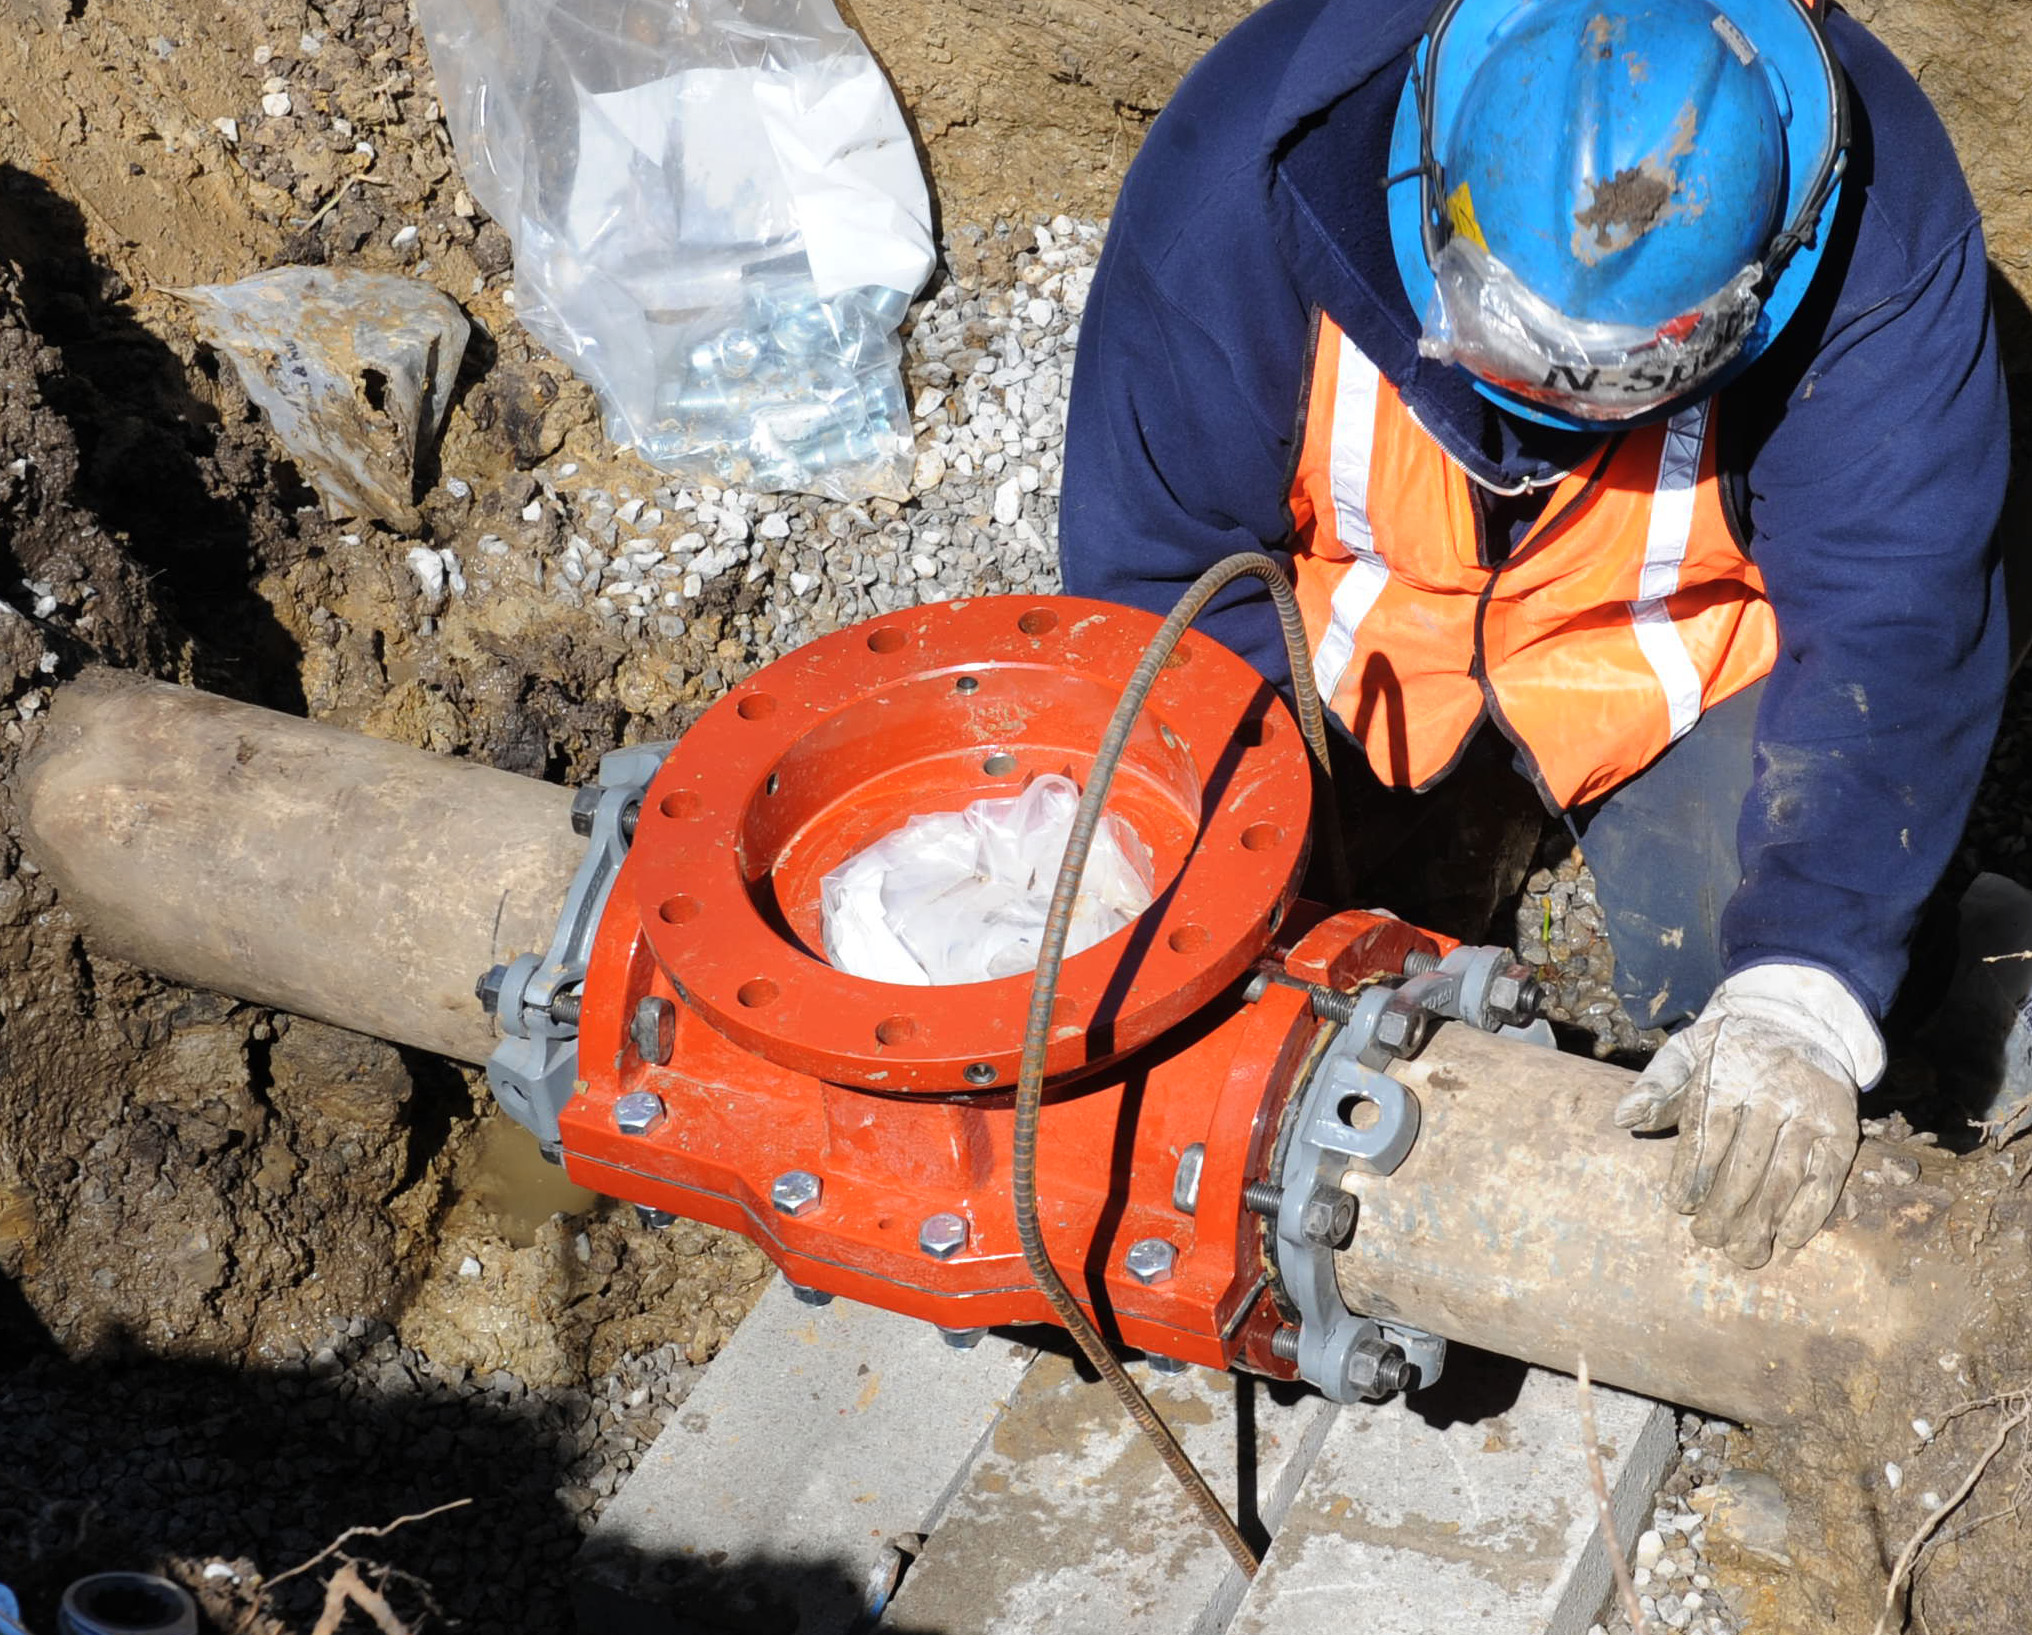
A leak never announces itself at a convenient time. It shows up as wet asphalt on a Sunday, a dropping pressure reading at shift change, or a hiss behind a plant wall at midnight. What the crew does in the first hour decides whether the event is a footnote or a week of downtime. Mechanical repair clamps have earned their place in emergency kits because they turn a cutting-and-welding job into a bolting job, and this guide covers how to use them when the clock is running.
First, make the situation safe
Everything else waits. Isolate the section if valves allow it, or at least reduce pressure before anyone touches the pipe. Ventilate any trench where gas could collect, and never send a worker into a flooding excavation. For water mains, check whether the escaping flow is undermining the trench walls or nearby pavement, since saturated soil gives way without warning. Only when the site is safe does anyone start sizing a repair. It feels slow in the moment, and it is still the fastest route, because an injury stops the job completely.
Read the failure before choosing the fix
Emergency repair is diagnosis work. Clean the area around the leak and look at what you actually have. A pinhole from corrosion, a weeping joint, a circumferential crack and a split along the pipe barrel are four different problems, and each points to a different fitting. Standard two-piece repair clamps handle the first three comfortably. Longitudinal splits need a wider body or a full-encirclement repair sleeve so the gasket bears on sound metal beyond both ends of the crack. If the wall is thinned along a whole pipe length, no clamp is the honest answer, and the emergency fix becomes a planned replacement. Writing down the fault type also helps whoever orders the permanent parts later.
Preparation beats speed
Crews that repair fast are crews that prepared. With the line depressurized or flowing low, dig back enough clearance to wrap the pipe, then clean the surface with a wire brush. Mud and scale under a gasket cause most first-attempt leaks. Check the pipe diameter with a tape rather than trusting the records, because old networks are full of pipe that is nominally one size and actually another. Bring out the clamp, lay the gasket, and confirm the bridging strip will sit over the damage. Ten minutes of this saves a second excavation when the fitting weeps at torque.
Installing under pressure, when you must
Sometimes a shutdown is impossible, and clamps are one of the few fittings that can be installed on a live line. The technique is straightforward but unforgiving. Position the lower half under the pipe, fold the gasket into place, and bring the upper half down while keeping even hand pressure on both sides. Start the nuts finger-tight, then torque in stages, alternating across the bolt line, so the castings close parallel. Uneven torquing is the classic mistake; it tilts the gasket and creates the leak you came to fix. Watch the seep as the bolts come down; it should slow to a trickle and then stop. If it does not, back off, reseat and try again rather than muscling the bolts past their limit.
Temporary fix or permanent repair
There is a debate worth having honestly. Many utilities treat a properly installed repair clamp as a permanent repair, and thousands of such fittings have outlived the pipe around them. Others mandate a scheduled cut-in after the emergency, using the clamp as a stopgap. Both positions are defensible; what is not defensible is leaving an emergency repair undocumented. Photograph it, log the location, note the pressure at installation and set the fitting into the asset record. A clamp nobody knows about is a clamp nobody inspects, and the day it finally lets go, the crew that answers the call is starting from zero.
What to keep on the shelf
Emergency stock is its own discipline. The useful minimum for a water utility or plant maintenance team is a set of clamps covering each pipe diameter on site, in a couple of widths, plus repair sleeves for split barrels. Bolts and gaskets age, so rotate the stock and keep it dry. Some teams add a few stainless versions for corrosive soils even though they cost more, since the trench they save may be their own. A supplier who keeps stock levels and can ship same-day is part of this plan; the cheapest catalog in the world is useless if its delivery window is measured in weeks.
Planning the next one
After the trench is backfilled, spend an hour on the paperwork. Record what failed, why, how long the repair took and which fittings were consumed. Over a few years that log tells you which pipe runs are failing repeatedly and where rehabilitation money should go. Emergency repair is triage; the goal is always to need less of it.
References
European Committee for Standardization, EN 805: Water supply, requirements for systems and components outside buildings, Brussels, Belgium.
American Water Works Association, Manual of Water Supply Practices M41: Ductile-Iron Pipe and Fittings, Denver, Colorado.
European Committee for Standardization, EN 545: Ductile iron pipes, fittings, accessories and joints for water pipelines, requirements and test methods, Brussels, Belgium.
National Fire Protection Association, NFPA 13: Standard for the Installation of Sprinkler Systems, Quincy, Massachusetts.